Exchange Decks
Registered/licenced Users can exchange a Deck using the File Exchange.
To Open the Deck Exchange Window:
- From the Orphalese Desktop, click on the grid to display the Orphalese Menu, click File Exchange >> Exchange Decks.
The Exchange Decks Window will be displayed:
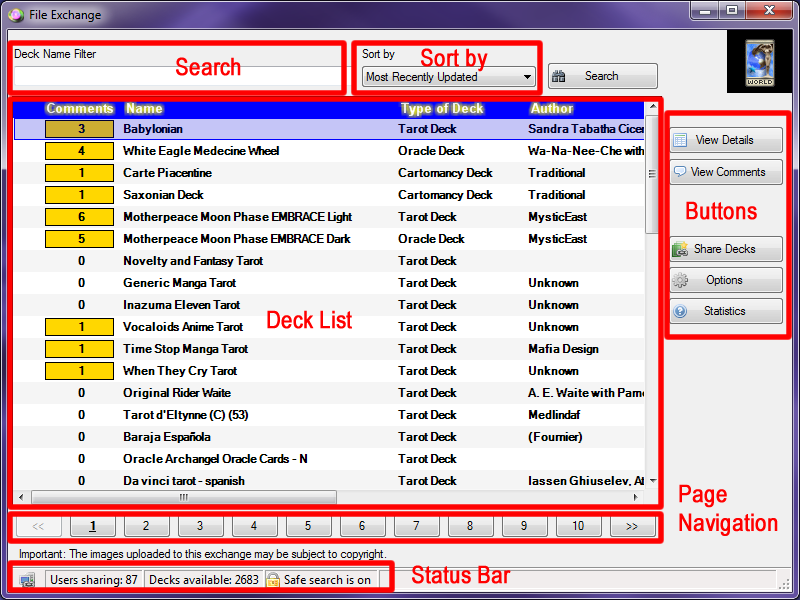 File Exchange - Decks
The Page Navigation is displayed across the bottom.
![]() Peer-to-Peer Page Navigation
Peer-to-Peer Page Navigation
The first page displays the number of results as set. Click on the Numbered buttons to display the next page of results.
The Number of Files/Decks displayed can be set in Options, Number of Results to Request.
![]() Peer-to-Peer Results to Request
Peer-to-Peer Results to Request
Deck Exchange Columns Include:
- Comment - The number denotes the number of comments about the Deck.
- Deck Name
- Type of Deck - eg. Tarot, Oracle, Cartomancy etc.
- Author - Deck creator.
- BKG - Checked box indicates a Background image is included in the Deck
- Notes - Checked box indicates Card Notes (CardData.xml) are included in the Deck
- KB - Deck size
- Shared By - Deck sharer User Name
- Updated - Deck last updated date
Double-clicking on a column sorts the results by that column.
Searching for a Deck
Search for Decks by Deck Name:
Sort By:
- Most Recently Updated
- Deck Name
- Latest Comment
Note: By default, Sort by is set to Most Recently Updated.
To Search for a Deck:
- Type a name into the Deck Name Filter and click the Search button.
Note: If the Search filter is not populated, the full Deck List will be displayed when clicking the Search button.
A screen similar to the following is displayed:
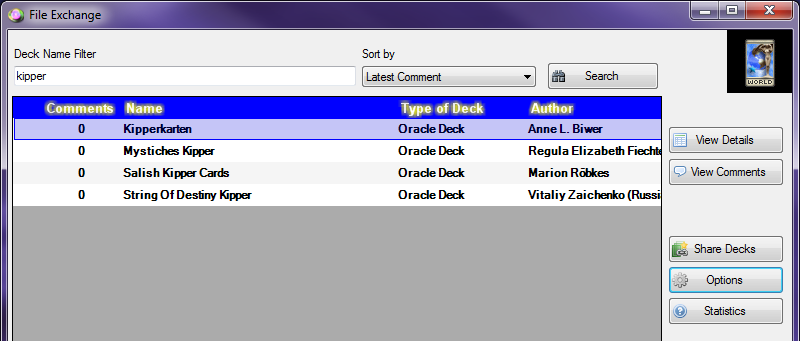 File Exchange - Deck Search by Name
Downloading a Deck
- Search for a Deck by entering the Deck Name.
- Double-clicking on a Deck opens a Window to display the Deck information.
A screen similar to the following will be displayed:
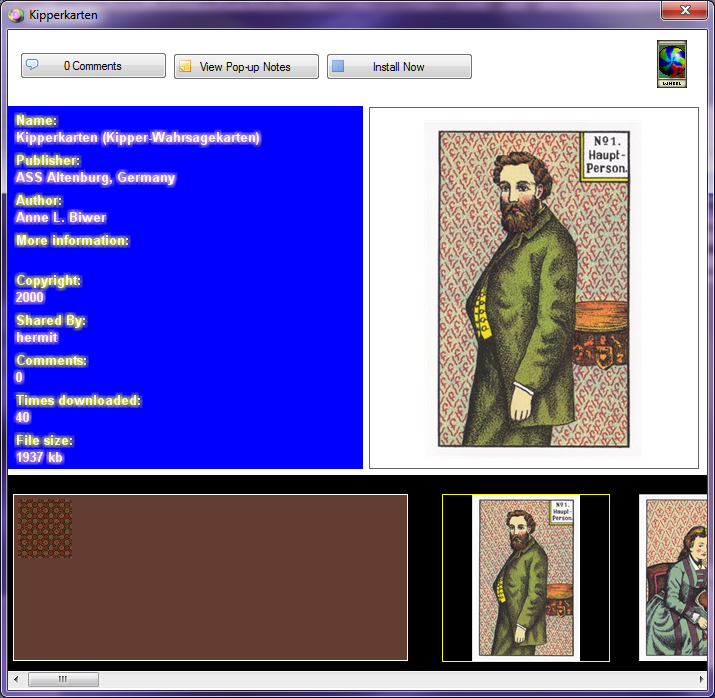 File Exchange - Deck display
- Click on the Install Now button.
A screen similar to the following will be displayed:
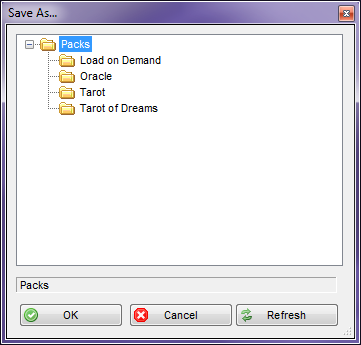 File Exchange - Decks Folders
- Click on the Folder to house the Deck.
- Click the OK button.
A screen similar to the following will be displayed:
 File Exchange - Deck Success
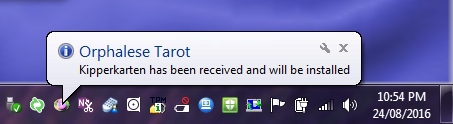
The message indicates that the Deck download was successful.
The Deck will now be listed in the selected Folder in the My Decks List.
Uploading a Deck
- In the File Exchange, click the Share Decks button.
A screen similar to the following will be displayed: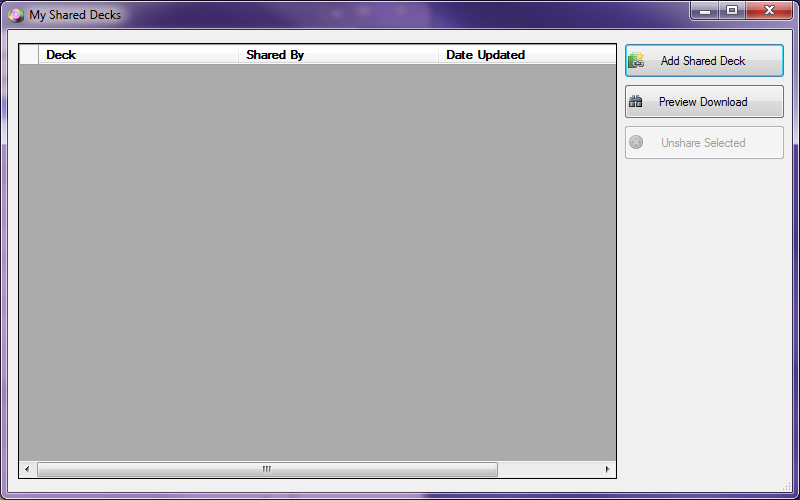 File Exchange - Shared Decks
- Click the Add Shared Deck button.
A screen similar to the following will be displayed:
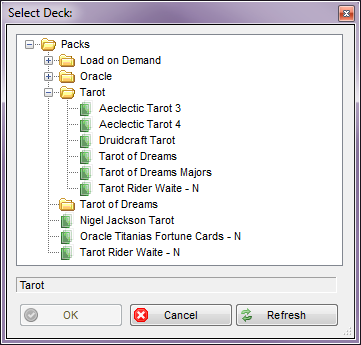 Shared Deck - Select
- Select a Deck and click the OK button.
A screen similar to the following will be displayed:
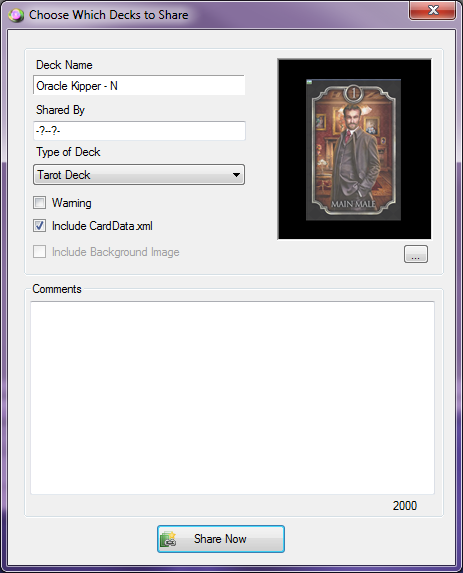 Choose Deck to Share
Notes:
- Deck Name - will be displayed by default as the Folder Name
- Shared By - enter your User Name or another name. If left blank "--?-?--" will appear in the File Exchange.
- Type of Deck - select from drop-down list.
- Warning - Tags the Deck as Unsafe (and hides it from the Deck List if the Option Safe search is on is checked).
- Include CardData.xml - includes Card Notes in the Upload.
- Include Background Image - includes Background files (files named bkg.jpg etc)
- Image - by default, the 00 Card Image will be uploaded. Click the Browse button to select an alternative image.
- Comment - Type a comment to be included with the Deck.
- Complete the information and click the Share Now button. The Uploading and Validating screen will be displayed:
 Peer-to-Peer Share Deck Upload and Validate
A screen similar to the following will be displayed:
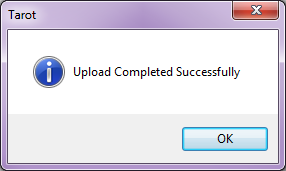 Upload Successful
The Deck will now be displayed in the My Shared Decks List:
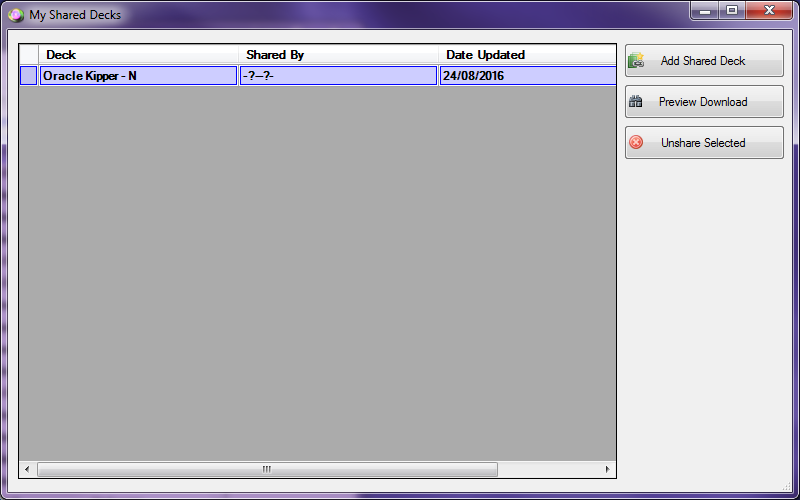 My Shared Decks
The Deck also appears in the File Exchange Deck List:
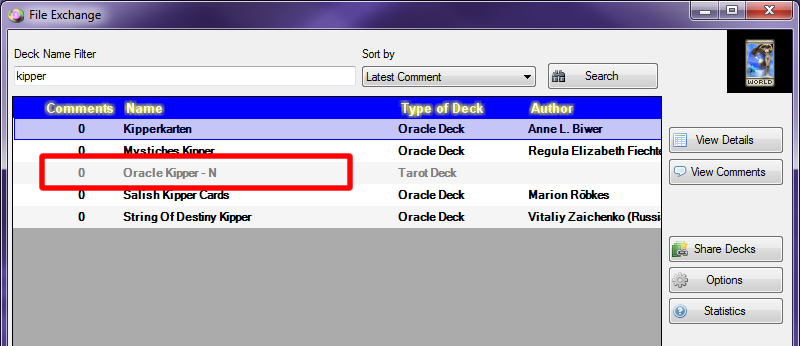 File Exchange Kipper
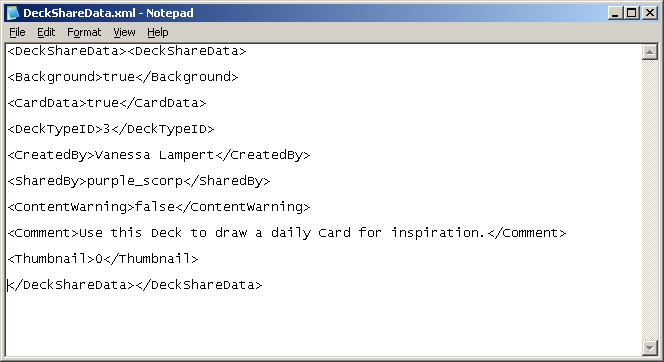
When a Deck is shared, an .xml file called DeckShareData.xml is created and saved in Pack/Deck Folder.
 Peer-to-Peer Deck Share
To Update a Deck:
Any changes made to a Deck can be updated on the File Exchange.
- Right-click on the Deck to display a fly-out menu.
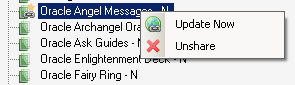 Peer-to_Peer Share Menu
- Select Update Now to update the Deck and files.
To Unshare a Deck:
- From the My Shared Decks list, click on the Deck to select it.
- Click the Unshare Selected button.
A screen similar to the following will be displayed: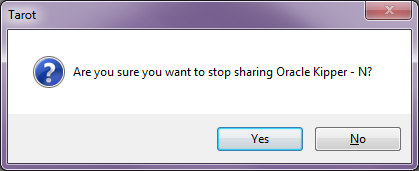 Unshare Deck
- Click the Yes button.
A screen similar to the following will be displayed:
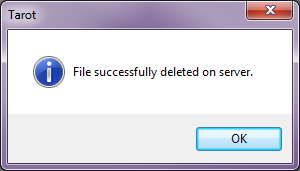 Unshare Successful
- Click the OK button.
- Click the Windows X Close button to return to the File Exchange.
- Click the Windows X Close button to close the File Exchange and return to the Desktop.